Build Your Own Notion Weekly Planner
Stop searching for the perfect template. Learn how to build a custom Notion weekly planner that organizes your tasks, projects, and goals your way.
I’ve seen it a hundred times: someone downloads a flashy Notion template, uses it for a week, and then abandons it. Why? Because pre-made solutions often feel like trying to fit into someone else's shoes—they just don't quite work for your unique workflow.
Building your own Notion weekly planner from the ground up gives you something a template never can: complete control.
Why Bother Building a Planner From Scratch?
Crafting your own planner means you get to design a system that actually fits your life. A student juggling classes and exams has completely different needs than a freelancer managing multiple client projects or a creator mapping out a content calendar. A personalized setup isn't just a nice-to-have; it's what makes the system stick.
The real goal here is to move beyond a quick-fix mentality. We're not just making a glorified to-do list. We're building a command center that truly supports your goals and evolves right alongside you.
The Power of a System Built for You
When you build your own Notion planner, you're the architect. You're not forced to work around someone else's rigid structure; you're creating a digital space that mirrors how you think and operate. This is a huge advantage.
- You're in control: You choose every property, every database, and every view. No more clutter or features you never touch.
- It grows with you: Start simple with a basic task list. Later, you can easily bolt on more complex project management, financial trackers, or goal-setting dashboards without having to switch tools.
- Everything connects: Your weekly tasks can link directly to bigger project goals, meeting notes, and research—creating a truly integrated system where nothing gets lost.
Building your own planner isn't just about getting organized. It’s about designing a clearer path to what you want to achieve. The system becomes an extension of your own mind.
A System That Truly Understands Your Workflow
The need for better digital organization is undeniable. By 2024, Notion had already attracted over 100 million users, and it's used by teams in more than half of all Fortune 500 companies. People are hungry for tools that help them manage their work and life. You can read more about Notion's impressive growth on taptwicedigital.com.
This explosion in popularity proves people want systems that work. A weekly planner is a fantastic foundation, but you can get even more specific. For instance, once your weekly view is set, you can zoom in further. Our guide on creating a Notion daily planner shows you how to add that next layer of precision, tying your day-to-day schedule directly into your weekly overview.
Creating Your Core Planning Databases
A fancy layout isn't what makes a Notion weekly planner work. The real power comes from the simple, interconnected databases humming along in the background. If you get these foundational pillars right, everything else just falls into place.
We’re going to build out the three databases that form the engine of any good planning system: Tasks, Projects, and a Master Calendar. This trio is the key. Projects hold your big-picture goals, Tasks break them down into what you actually do, and the Master Calendar gives you a high-level view of anything with a deadline.
The diagram below shows what this looks like in practice—moving from a messy, frustrating process to a clear, intentional workflow that actually gets you somewhere.
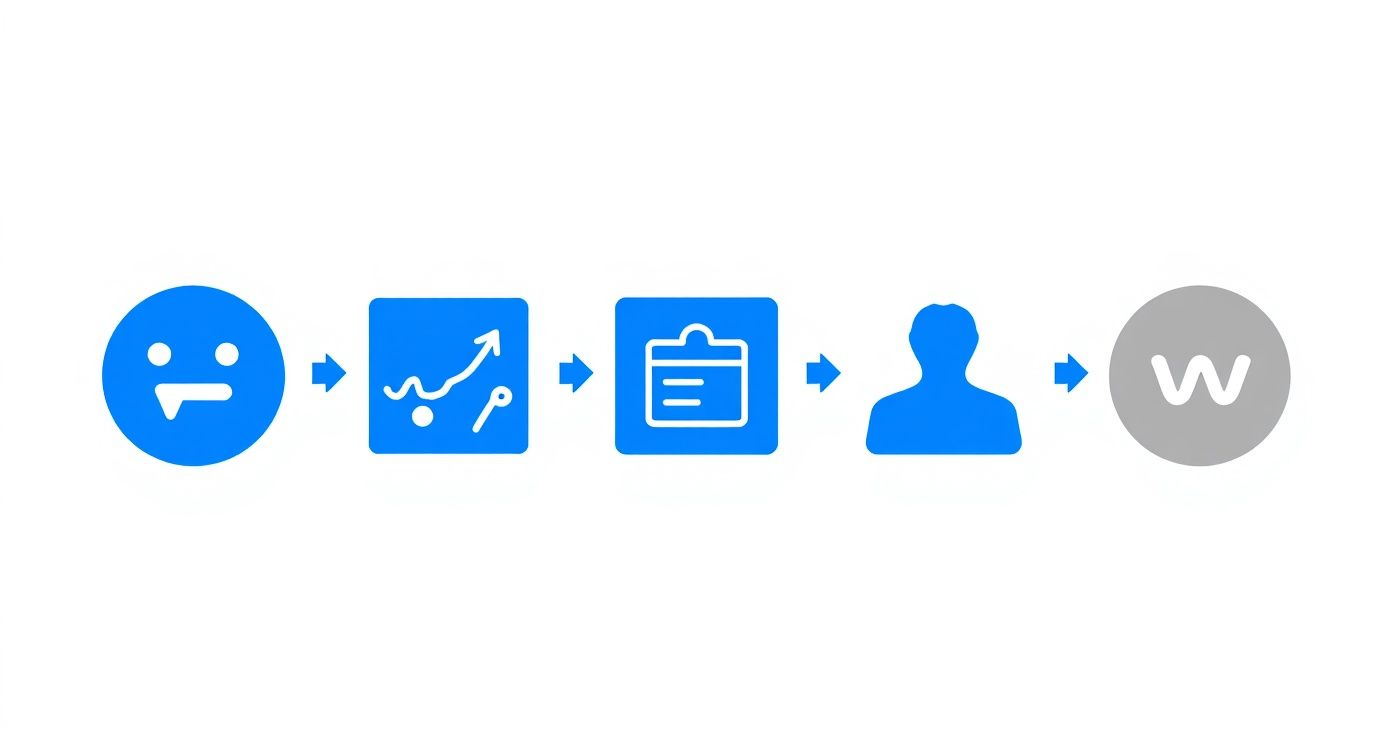
This is the shift we're aiming for: designing a system that brings clarity and progress, not more confusion.
Your Tasks Database: The Daily Driver
This is where you'll live day-to-day. Go ahead and create a new database—call it something simple like "All Tasks." My advice? Fight the urge to add a million different properties right away. We can always add more complexity later, but starting simple is the best way to make sure the system sticks.
For your "All Tasks" database, you really only need four properties to get started:
- Status (Select): This is just to track what's happening with a task. Keep it straightforward with options like
Not Started,In Progress, andDone. You can always addWaitingorBlockeddown the road if you find you need them. - Due Date (Date): Absolutely essential. This property is what allows you to filter your view to see what’s on your plate for today, this week, or next month.
- Priority (Select): Let’s be honest, not all tasks are created equal. A simple
High,Medium,Lowsystem is perfect for making sure you're putting your energy in the right places. - Project (Relation): This is the game-changer. For now, just create a property with this name. We'll set up the connection in just a moment.
Your Projects Database: The Big Picture
Now for the second piece. Create another database and call it "All Projects." This is where you'll keep track of your larger goals and initiatives. For example, "Launch New Website" is a project; "Write homepage copy" is a task that belongs to that project.
Your Projects database provides the 'why' behind your daily work. Connecting tasks to projects ensures that your small actions are always contributing to a bigger goal.
For the Projects database, we can start with just two properties:
- Status (Select): This is similar to the task status but for the project's overall progress. I like using
Planning,Active, andCompleted. - Timeline (Date): When you create this property, make sure to enable the "End date" option. This lets you set a start and finish for the whole project, which is super useful for viewing your work on a timeline.
To give you a clear overview, here's a quick summary of the properties we've just discussed.
Essential Database Properties for Your Planner
| Database | Property Name | Property Type | Purpose |
|---|---|---|---|
| All Tasks | Status | Select | Tracks the immediate progress of individual to-dos. |
| All Tasks | Due Date | Date | Assigns a deadline for sorting and filtering by time. |
| All Tasks | Priority | Select | Helps you focus on what's most important. |
| All Tasks | Project | Relation | Links the task to its overarching goal. |
| All Projects | Status | Select | Shows the high-level progress of a larger initiative. |
| All Projects | Timeline | Date | Defines the start and end dates for the entire project. |
Setting up these properties correctly from the start makes building the rest of your planner much easier.
Making the Connection with Relations
Okay, let's tie it all together. Head back into your "All Tasks" database and find that "Project" property we created. Click to edit it, change its type to Relation, and when Notion asks you to select a database, choose your "All Projects" database.
Notion will then pop up a little window asking if you want to create a corresponding relation in the "All Projects" database. You definitely do, so go ahead and confirm.
This two-way link is what makes the whole system click. Now, when you assign a task to a project, that task will automatically show up inside that project’s page. All of a sudden, you don’t have scattered to-do lists anymore. You have a clean, structured breakdown of everything you need to do to hit your biggest goals, turning separate pages into a fully integrated Notion weekly planner.
Bringing Your Weekly Dashboard to Life
Now for the fun part. With your core databases set up, it’s time to build the command center where your Notion weekly planner truly comes alive. We're going to create a central dashboard that pulls all that scattered information into a single, cohesive, and actionable view. This is how you turn raw data into a clear plan for your week.
The secret sauce here is a feature called Linked Views of a Database. This lets you pull in and display your tasks, projects, and calendar events anywhere you want without duplicating a single thing. When you change a due date in your dashboard view, it updates the original database instantly. It's incredibly efficient.
The principles behind designing an efficient interactive dashboard are universal—it's all about clarity and focus. We'll apply those same ideas right here in Notion.
Creating Focused, Filtered Views
A good dashboard isn't about seeing everything at once; it's about seeing the right things at the right time. Overwhelm is the enemy of productivity, and Notion's filters are your best weapon against it. Instead of staring at one giant task list, we'll slice it into smaller, purpose-driven views.
Let's start. On a new Notion page you can call "My Weekly Dashboard," just type /linked and select "Linked view of database." Then, point it to your "All Tasks" database.
From here, we can create a few essential views:
- This Week's High-Priority Tasks: A simple list view works perfectly. You'll want to filter it to show only tasks where the
PriorityisHighand theDue DateisThis Week. This immediately surfaces your most critical focus points. - Overdue Items: Nobody likes seeing these, but ignoring them is much worse. Create another linked view, but this time, filter for tasks where
StatusisNot Doneand theDue DateisBefore Today. Think of this as your friendly accountability partner. - Upcoming Appointments: You can also link your Master Calendar database. Just create a calendar view and filter it to show events happening
On or after today. For more advanced setups, our guide on creating a Notion calendar template goes much deeper.
A great dashboard doesn't just show you what's on your plate—it helps you decide what to eat first. Use filters to slice your master lists into manageable, context-specific bites.
Visualizing Your Week with Different Layouts
How you see your information is just as important as what you see. Notion gives you multiple layouts for your database views, which means you can tailor the dashboard to your personal workflow instead of being stuck with a one-size-fits-all approach.
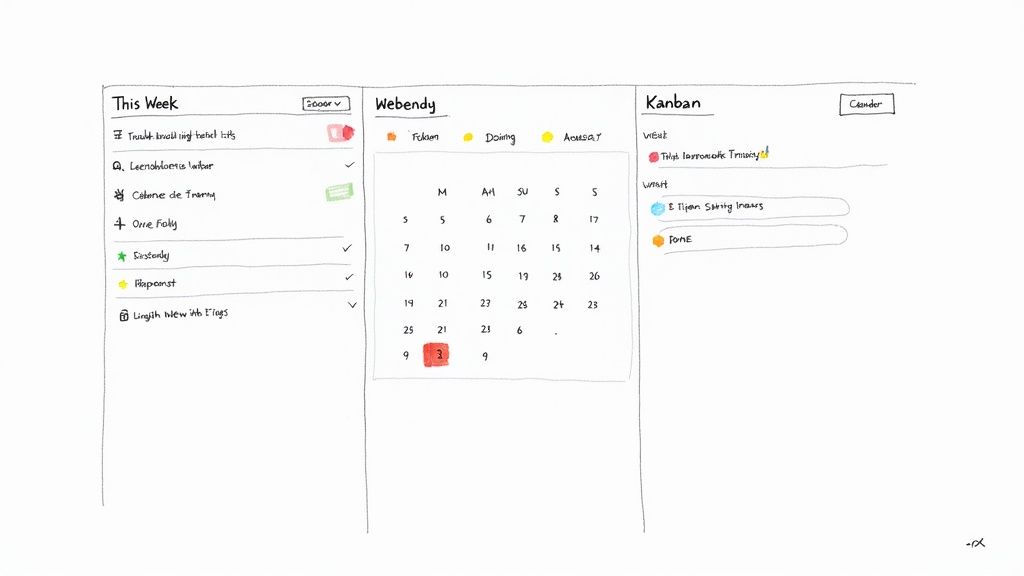
This is what transforms a static list into a dynamic and responsive planning tool. Let's look at two powerful layouts you can use side-by-side on your new dashboard.
Using a Kanban Board for Project Stages
If you want to track the progress of projects or even more complex tasks, a Kanban board is perfect.
Start by creating a linked view of your "All Tasks" database. Change the layout from "Table" to "Board." In the board settings, you’ll see an option to "Group by" a property—choose Status.
Instantly, you'll have columns for "Not Started," "In Progress," and "Done." Dragging a task from one column to the next automatically updates its status. It’s a wonderfully visual way to manage your workflow.
Using a Simple List for Daily To-Dos
Sometimes, you just need a straightforward checklist. For your daily tasks, a clean list view is often the most effective way to cut through the noise.
Create one more linked view of your "All Tasks" database and filter it to show only items due Today. I also recommend sorting it by Priority so the most important stuff is always right at the top. This focused view removes all distractions, showing you only what you need to conquer for the day and killing decision fatigue before you've even had your morning coffee.
Making Your Workflow Work for You
<iframe width="100%" style="aspect-ratio: 16 / 9;" src="https://www.youtube.com/embed/Ymn2u1hzuPQ" frameborder="0" allow="autoplay; encrypted-media" allowfullscreen></iframe>A great Notion weekly planner doesn't just sit there waiting for you to fill it out; it should actively do some of the work for you. When you move past manual data entry and start using automation, your planner transforms from a static to-do list into a dynamic system that genuinely saves you time. This is where the real power of Notion kicks in.
The best place to start is with Notion’s recurring database templates. Think about all the little things you have to do over and over again. Maybe it's prepping for the Monday team meeting, filing your monthly expense report, or outlining next week's social media content. Instead of re-creating those tasks from scratch every time, you can set them to appear automatically.
Set Up Recurring Tasks in Minutes
Getting this set up is surprisingly straightforward. Head over to your "All Tasks" database and look for the small blue arrow right next to the "New" button. This is your gateway to creating task templates.
Let's walk through a quick example, like a weekly report:
- First, click + New template.
- Give it a clear name, like "Submit Weekly Performance Report."
- Then, you can pre-fill any properties that will always be the same. Maybe the
Priorityis alwaysHigh, or it's always part of the "Admin" project. - Once you save it, click the three dots next to the new template's name. Here, you'll see a Repeat option. Set it to repeat every
WeekonFriday.
And that's it. Now, a fresh, perfectly configured task will pop into your database every Friday morning without you lifting a finger. You can just get it done.
This one feature is a cornerstone of a truly effective Notion setup. It frees up your mental energy and makes sure those important, recurring tasks never slip through the cracks.
Tailoring Your Dashboard to Your Life
While your databases are the engine of your system, your dashboard is the cockpit. It should be designed specifically for what you do every day. A freelance graphic designer needs a very different view than a university student juggling five classes.
For example, a content creator might build a dashboard that pulls in their "All Tasks" database but also links to their "Content Ideas" database. They could then create a Kanban board view showing the status of each piece of content—Idea, Drafting, Published—giving them a clear visual of their entire pipeline for the week.
A student, on the other hand, might set up their dashboard with two key views. One section could show a linked view of their "All Projects" database, filtered to only display Active courses for the current semester. Right below it, they could have a linked view of their "All Tasks" database, filtered to show only assignments that are due This Week.
The demand for this kind of personalized productivity system is exploding. Notion's organic website traffic skyrocketed from 1.5 million to 6.9 million monthly visitors between June 2022 and June 2024. That's a massive jump, and it shows just how many people are looking for better ways to organize their lives. You can read more about Notion's rapid adoption at simple.ink.
While Notion can handle almost anything, it plays well with others, too. You might find that a few specialized tools can round out your workflow perfectly. For some great options, check out this list of the best free productivity apps.
When you combine smart automation with dashboards built for your specific role, your planner stops being a chore and becomes your personal command center for getting things done.
Making Your Weekly Review Stick
Let's be honest: a planner you don't look at is just a digital graveyard for good intentions. The real magic of a powerful Notion weekly planner isn't just in setting it up; it's in the consistent habit of reviewing it. This is what transforms your system from a static to-do list into a dynamic guide for your week.
This routine doesn't have to be some monumental, hour-long task. The simpler, the better. The goal is to carve out a small window of time—maybe Sunday night or first thing Monday morning—to consciously close out the last seven days and set clear intentions for the next.
This is how you keep your planner sharp, relevant, and genuinely helpful.
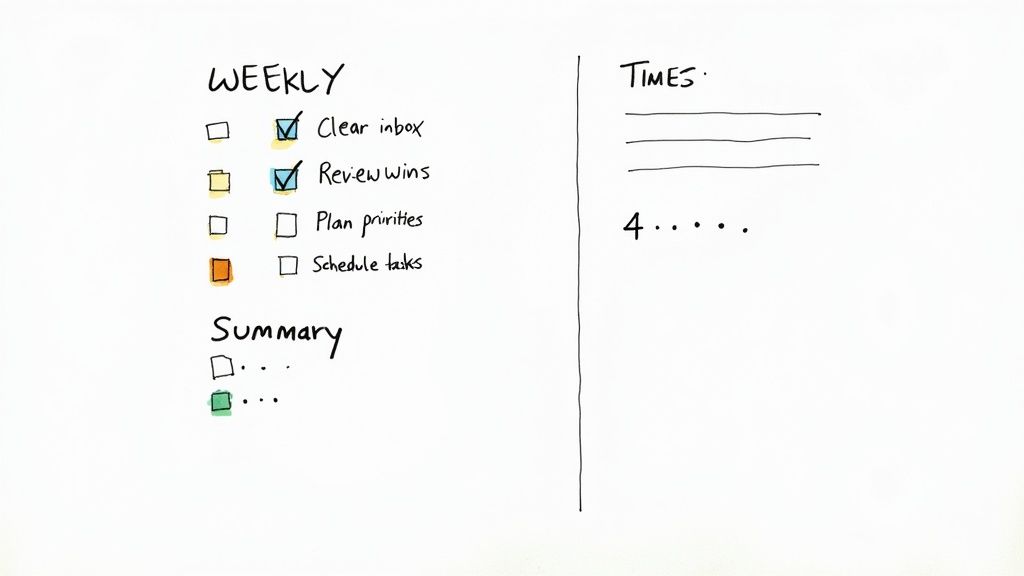
A Simple 3-Part Review Process
I've found the most effective weekly reviews have three core parts: looking back, cleaning up, and planning forward. Breaking it down like this keeps it from feeling like just another chore you have to get through.
Here’s a simple checklist I use. You can build this right into a template button on your Notion dashboard for a one-click weekly reset.
- Clear the Decks: First, process all your inboxes—your email, random notes, and especially that "Quick Capture" or "Inbox" page in your Notion. The idea is to get everything out of your head and into its proper place in your system.
- Review and Reflect: Take a minute to scroll through last week’s completed tasks. What were the big wins? What got postponed, and why? This isn't about judging yourself; it's about gathering real data on what's working and what's not.
- Plan and Prioritize: Now, look at the week ahead. Drag and drop any unscheduled tasks onto the calendar, identify your top 3-5 priorities, and ask yourself if the plan feels realistic. This is your chance to make sure the small stuff you're doing this week actually connects to your bigger goals.
Your weekly review is your dedicated time to work on your system, not just in it. It’s the single most impactful habit for staying in control and building momentum.
Turning the Review into a Lasting Habit
Consistency is the name of the game. You want to make this process as easy and automatic as possible. I highly recommend creating a recurring task in your database for your "Weekly Review." Notion will pop it onto your to-do list every week, giving you a gentle nudge.
This small, repeated action creates a powerful feedback loop. With every review, your planner gets a little smarter and more attuned to your actual workflow.
If you want to get serious about building routines, you can even integrate this with a dedicated habit tracker. We've got a great guide on building a Notion habit tracker template that pairs perfectly with a weekly planner. This is how you ensure your Notion setup remains your trusted co-pilot, week after week.
Got Questions? Let's Talk Notion Planners
Once you start using a new Notion planner, you'll inevitably run into a few specific questions. It's just part of the process. Getting these details sorted out early on is what separates a planner that works for you from one that creates more work.
Let’s dig into some of the most common things people ask when they're getting their system dialed in.
Can I Integrate Google Calendar?
Yes, and you have a couple of options here, each with its own pros and cons. The quickest way is to simply embed a view-only version of your Google Calendar directly on a Notion page. It's a great way to get a visual overview, but keep in mind, it's a one-way street—you can see events, but you can't edit them from inside Notion.
If you want a true two-way sync, you'll need to bring in an automation tool. Services like Zapier or Make.com are fantastic for this. You can set up a workflow that watches for new events in Google Calendar and automatically creates them in your Notion task database, and the other way around. It’s the key to keeping everything aligned without having to do it all by hand.
How Do I Make My Planner Mobile-Friendly?
While your entire planner is technically available on the Notion mobile app, let's be honest—some layouts are a nightmare on a small screen. Trying to navigate a big Kanban board on your phone is not fun.
The trick is to create a dedicated page designed specifically for mobile use. It’s a game-changer.
- Build a "Mobile Dashboard": This page becomes your command center when you're on the go.
- Use simple list views: Instead of complex boards, add linked views of your tasks and calendar using the "List" layout. I usually filter these to show only what's on for today or this week.
- Favorite it: On your phone, just tap the star icon on your new mobile dashboard page. This pins it to the "Favorites" section of your app's home screen for instant access.
A little bit of setup here makes a huge difference in how practical your planner is in the real world.
A dedicated mobile view isn't just a nice-to-have. It's what makes your Notion planner a tool you can actually rely on, no matter where you are.
What Is the Best Way to Handle Recurring Tasks?
For anything you do repeatedly, Notion's built-in database templates are your best friend. Don't waste time manually creating the same tasks over and over again.
Go into your main "All Tasks" database and click the little blue arrow next to the "New" button. From there, create a new template for a task you do often, like "Weekly Team Sync Prep." You can even pre-fill properties like the project or priority level.
Once that template is saved, click the three dots next to it and tell Notion how often you want it to repeat—daily, weekly, or monthly. It will then automatically generate that task for you on schedule, so you never have to worry about it slipping through the cracks.
Ready to skip the setup and get a professional-grade system instantly? Flowtion offers a complete suite of battle-tested templates that transform Notion into a powerhouse for your work and life. Explore our collection and find your perfect workflow at https://theflowtion.com.
Related Articles
Build a Powerful Action Items Template in Notion
Stop losing tasks in the shuffle. Learn to build a powerful action items template in Notion that drives accountability and boosts team productivity.
Master Notion Tasks Management
Unlock productivity with our guide to Notion tasks management. Build a powerful, streamlined system using databases, relations, and automations today.
Build Your Own Notion Daily Planner From Scratch
Tired of generic templates? Learn how to build a custom Notion daily planner that fits your workflow, tracks your goals, and boosts real productivity.
Did you like this article?
Discover our premium Notion templates that will help you implement these productivity systems immediately.